Routine inspection of aeration mixers forms the foundation of long-term operational stability across aquaculture ponds, industrial bioreactors, and recirculating water treatment systems. Regular, consistent checks help operators catch early signs of wear before they escalate into unplanned failures that disrupt oxygen distribution, damage process balance, and put aquatic stock or biological treatment cycles at risk. A structured inspection process covers every critical component, from surface-level visual observations to deeper functional verifications that confirm the unit performs as intended under real operating conditions.
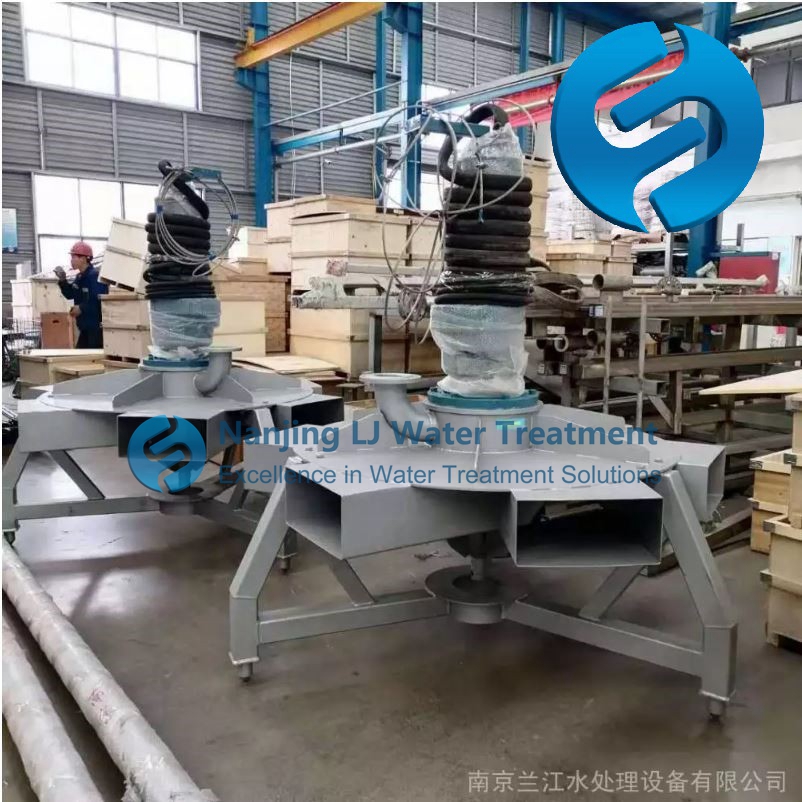
Visual and external component inspection
Start every inspection round with a full walkaround of the entire mixer installation, checking for visible signs of structural damage on mounting brackets, support frames, and exposed housing surfaces. Look for accumulated biofilm, sludge buildup, or mineral scale that can add unnecessary weight to moving parts and reduce overall operational efficiency. Verify all external fasteners, flange connections, and mounting bolts are properly secured, with no loose threads, rust streaks, or signs of gradual loosening that develop over months of continuous vibration. Check exposed wiring and cable jackets for cuts, abrasions, or UV damage that can create water intrusion paths, and confirm all cable strain relief points hold the wiring firmly in place to prevent accidental pulling during operation. Inspect the surrounding water surface for unusual foaming patterns, uneven bubble distribution, or sudden changes in water flow that often signal a drop in mixer performance before internal components show obvious wear.
Shaft, seal and lubrication system verification
Rotate the mixer shaft manually when the unit is fully powered off to feel for smooth, unobstructed movement, and note any spots of stiffness, grinding resistance, or uneven play that point to bearing wear or misalignment. Check the seal housing area for consistent leakage rates, and document any increase in drips or fluid seepage that indicates the sealing elements are approaching the end of their service life. Verify lubricant levels in all sealed bearing chambers sit at the correct marked level, and inspect the lubricant sample for cloudiness, water contamination, or metallic particles that signal internal component wear. Confirm all lubrication lines and grease fittings remain clear of blockages, so scheduled top-ups can be delivered evenly to every friction point during maintenance. For units operating in high-sediment environments, check the shaft surface near the seal for fine scoring or corrosion marks that can gradually damage sealing faces even when the unit runs at normal operating speeds.
Operational performance and post-inspection documentation
Power the mixer on under controlled, low-load conditions first, and listen closely for abnormal noise such as high-pitched whining, repetitive clunking, or irregular rattling that does not appear during normal steady operation. Measure current draw across all power phases to confirm values stay within the manufacturer’s specified operational range, and flag any unexpected spikes or uneven phase readings that point to winding wear or impeller obstruction. Observe the impeller or aeration diffuser assembly through clear water or inspection ports to confirm no tangled debris, broken blades, or bent structural elements disrupt the uniform mixing and oxygen transfer pattern. Cross-reference current oxygen saturation readings in the surrounding water with baseline values taken after the last full maintenance cycle, to spot subtle drops in aeration efficiency that do not show up in basic visual checks. Record every observation, minor adjustment, and measured value in a dedicated inspection log, so you can track performance trends over time and schedule targeted maintenance before small issues turn into costly full-system shutdowns.
Post time:2026-11-17
