Regular cleaning of underwater components for an aeration mixer is essential to keep consistent mixing efficiency and prevent unexpected performance drops during long-term submerged operation. Proper cleaning steps can remove accumulated debris and extend the reliable working life of all parts that stay in constant contact with water.
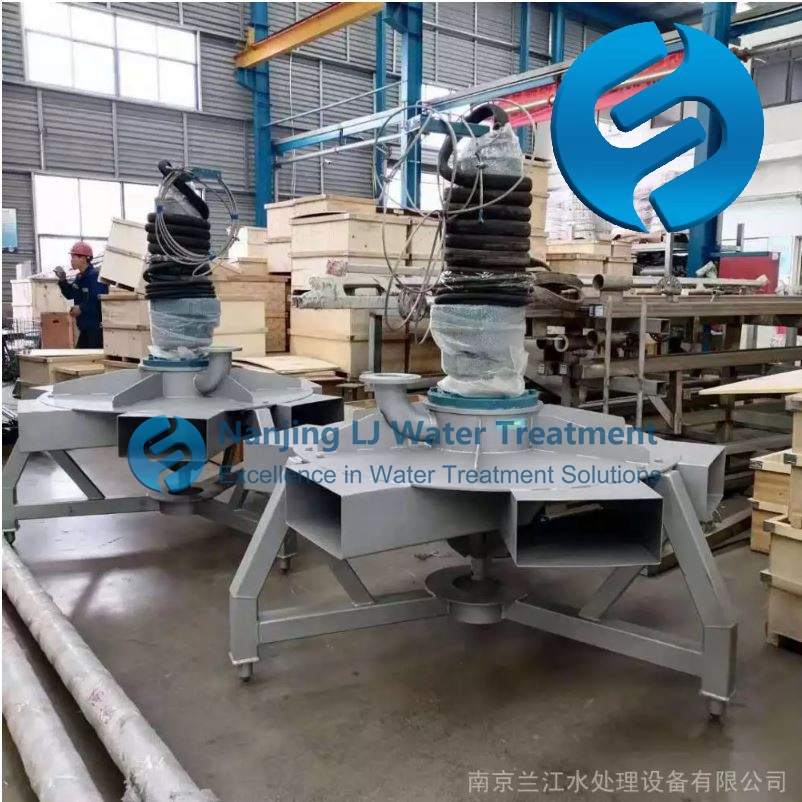
Pre-Cleaning Preparation and Safety Checks
Shut down all power supplies to the aeration mixer completely and lock out the control panel before any underwater work. Confirm all related pipelines and flow paths are fully closed to avoid sudden water backflow during the whole cleaning process. Wear appropriate waterproof protective gear and confirm all on-site operation areas meet the required safety standards. Prepare all necessary non-abrasive cleaning tools and soft cleaning materials in advance to avoid extra trips that delay the whole procedure.
Surface Debris and Sludge Removal
Carefully remove large floating debris, tangled fibers and accumulated sludge attached to the outer surface of all underwater components first. Use soft non-scratching brushes to wipe off sticky sediment on the outer shell, mixing blades and flow guide structures. Flush every surface gently with low-pressure water flow to wash away loose dirt that cannot be removed by simple brushing. Pay extra attention to narrow gaps between blades and hidden corners where sludge tends to build up over long operation periods.
Scale and Biofilm Treatment
Apply mild, non-corrosive cleaning solutions to areas with hard mineral scale and thin biofilm layers after initial flushing. Let the solution stay on the target surfaces for a proper soaking period to soften hardened deposits without damaging the base material. Use soft sponges to wipe the treated areas slowly and avoid scratching the smooth precision surfaces that ensure stable flow performance. Flush all treated parts thoroughly with clean water multiple times to make sure no residual cleaning solution remains on any submerged component.
Internal Flow Path Deep Cleaning
Disassemble accessible internal connection sections carefully to reach the inner walls of flow channels and mixing chambers. Use flexible, long-handled cleaning tools to clear compacted dirt that blocks the smooth flow of mixed media. Run a short cycle of clean water circulation through the internal system to carry away all loosened residual particles. Inspect every inner wall position visually to confirm no leftover debris stays inside the hidden flow paths.
Post-Cleaning Inspection and Reinstallation
Check every underwater component for any sign of hidden wear, crack or corrosion after all cleaning steps are finished. Reinstall all disassembled parts back to their original positions and confirm every connection stays tight and aligned correctly. Double check that no cleaning tool, leftover cloth or small debris is left in the underwater operation area. Restore all pipeline connections and open the related flow paths slowly to prepare for the next test run.
Post-Cleaning Test and Verification
Start the aeration mixer for a low-speed test operation after all reinstallation work is completed. Observe the operation state of all underwater parts from the water surface to confirm no unusual vibration or abnormal noise appears. Check the flow and mixing effect to make sure the performance returns to the expected normal level. Record all cleaning details, inspected positions and found conditions for future reference in subsequent maintenance cycles.
Post time:2026-08-14
